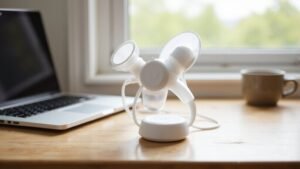
Wondering how to get started with pumping breast milk? It can feel overwhelming at first, but with the right technique, you’ll be able to milk comfortably and efficiently.
By the end of this guide, you’ll know how to set up your pump, find the perfect fit, and develop a routine that works for you.
Let’s walk through the steps to make your pumping experience easier.
Why Hand Hygiene and Sterile Equipment Matter
Proper hand hygiene and equipment sterilization are crucial for safe breastfeeding. Washing your hands with soap and water for at least 20 seconds before pumping can remove up to 90% of microorganisms, significantly reducing the risk of bacteria transferring into your breast milk. Always take this step; clean, dry hands prevent pathogens from contaminating your milk and pump parts.
After pumping, disassemble all components, rinse them thoroughly, wash with mild soap, and air-dry completely. This process prevents the buildup of milk residue, which can serve as a breeding ground for germs. For babies under 2 months, premature infants, or those with weakened immune systems, sterilize all parts daily using a steam sterilizer, microwave sterilizer bags, or boiling in water for at least 5 minutes. This extra step ensures lingering bacteria are eradicated, maintaining nutrient quality and minimizing health risks for your baby. Remember to wipe pump surfaces and dials with disinfectant wipes regularly and discard any damaged parts to ensure safety. Just as a car seat cover must fit perfectly to protect against wear, choosing the right sterilization method ensures your pump parts remain free of harmful residue.
How to Set Up a Comfortable Pumping Station
Choosing a convenient, functional spot is key for a comfortable pumping station. Ideal locations include your nursery or living room, where you can easily access supplies and relax. Focus on comfort and practicality rather than decor; a supportive chair with armrests and a footrest will help prevent back fatigue during long pumping sessions. Use a soft, dimmable lamp for lighting to avoid harsh brightness, especially at night. Keep a side table or caddy within arm’s reach, stocked with your pump, water bottle, snacks, and nipple cream. Organize supplies into designated sections so you can grab what you need with one hand. A rolling cart can be a versatile addition, allowing you to easily move your station between rooms. For storing these supplies, consider a stationary chest with multiple drawers to keep everything tidy and accessible. Also, place a phone charger nearby and keep the space quiet and clutter-free to create a calm, soothing environment. To ensure proper storage, keep breastmilk storage containers nearby for immediate refrigeration or freezing. Many parents also find that a Graco Pack ‘N Play with a bassinet provides a convenient nearby spot for baby while pumping.
Getting the Flange Fit Right for Comfort and Milk Flow
To get the flange fit right, start by measuring your nipple at its base when it’s neutral or gently stimulated. Use a ruler or measuring tape to determine the diameter, and remember to measure each nipple separately since they can differ. Add 2 to 4 millimeters to this measurement to account for comfort during pumping. Round the final size to match your pump brand’s sizing chart for accuracy. You can also check a breast pump flange size guide for detailed compatibility and fit advice.
During pumping, your nipple should slide freely within the flange tunnel without rubbing the walls. If you notice your areola being drawn into the tunnel, it indicates a flange that is too large. Conversely, pinching, stinging, or bruising may mean the flange is too small. Swelling or chapping can also interfere with milk flow and should be addressed promptly. If discomfort persists, silicone or tapered flanges can help provide a better fit. For consistent milk output, consider using a double pump to stimulate both breasts simultaneously for increased supply. It’s important to recheck your flange size after a few sessions since nipple shape can change over time. Proper fit ensures you won’t need to crank up suction to express milk effectively. To maximize comfort and efficiency, choosing the right pump model can also influence your overall experience.
Start on the Lowest Suction Setting to Trigger Let-Down
Start on the lowest suction setting to trigger your let-down reflex. Begin with the gentlest vacuum to imitate your baby’s early sucking pattern, encouraging natural milk flow without causing discomfort. Strong suction isn’t necessary at this stage and may slow down the flow or cause nipple pain. Some top-rated pumps deliver quality performance while remaining gentle on sensitive nipples.
Keep your pump in stimulation mode for about one to two minutes. Usually, milk will start to flow within this period. If milk flows earlier, you can adjust your settings accordingly. If not, increase suction gradually, one notch at a time, until you see milk. Avoid going beyond a level that causes pain or pinching. Your goal is to find the highest comfortable vacuum that effectively stimulates milk ejection without discomfort. A gentle tug on the flange indicates you’ve set the appropriate suction level. To maintain optimal performance, remember to replace breast pump parts according to the manufacturer’s safety guidelines. For a more budget-friendly approach, you can learn how to DIY your own pump part storage using simple household items.
When to Switch Between Stimulation and Expression Modes
To know when to switch from stimulation to expression mode, watch your milk flow rather than the clock. Your pump should respond to your body’s cues: when you see drips turn into steady streams or notice milk sprays, it’s time to shift. A tingling or “pins and needles” sensation often indicates your let-down is happening or about to happen, signaling it’s time to move to expression mode. If you’re still only seeing drops, stay in stimulation mode to encourage a stronger let-down. Understanding how your pump compares to other options, like choosing between a convertible car seat and an infant seat, can help you evaluate features for different stages of use. Just as you would look for age and weight signs before changing a child’s car seat, watching your body’s cues ensures you make the right switch. For example, a rotating infant car seat offers convenient adjustment features that similarly adapt to changing needs.
Once your flow becomes steady, switch to expression mode. Its slower, deep pulls mimic a baby’s natural suckling after let-down, helping to remove milk efficiently. If your flow slows or stops, switch back to stimulation mode to trigger another let-down. Then, resume expression. Responding to your body’s signals rather than sticking to a preset timer ensures the most effective pumping session.
The Best Way to Alternate Breasts When Pumping
Alternate the starting side each session to mimic your natural breastfeeding pattern. For example, start one session on the left breast, then switch to the right for the next. This helps prevent one breast from becoming overfull while the other remains underused. To keep track, use a wrist tie or note your starting side so you maintain consistency over time. If you’re pumping mainly for comfort and not milk supply, brief expression from the less-full breast may be enough instead of fully emptying it. Always ensure your baby is secured in a properly installed car seat when traveling to and from pumping sessions. For optimal milk output, consult top convertible car seats for quality and value comparisons. Experts recommend waiting until your baby is at least three to four weeks old before introducing a pump to allow your milk supply to stabilize.
How Long to Pump Each Breast for Maximum Drainage
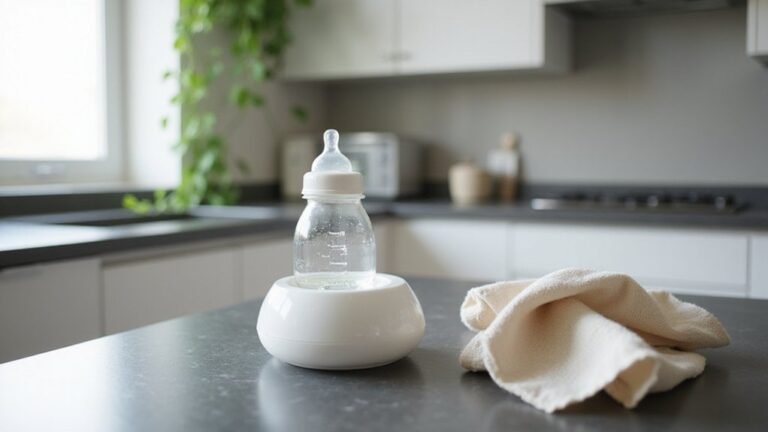
Pumping each breast for about 15 to 20 minutes maximizes drainage. This duration allows you to fully empty the milk in each session when using a single pump, or cover both breasts in that time with a double electric pump. Instead of focusing solely on the clock, monitor your milk flow. When it slows to occasional drops, continue pumping for an extra 2 to 3 minutes to encourage a second let-down. This step helps ensure you have drained more completely. Your pumping rhythm should start fast to initiate flow, then slow down as milk flow becomes steady. If your breasts still feel firm after 20 minutes, keep pumping until they soften. Avoid exceeding 30 minutes, as prolonged pumping can cause irritation without increasing milk output. Always listen to your body’s signals for comfort and flow rather than sticking strictly to the timer. To prevent bacterial buildup on your pump parts, wash them with soap and hot water after every use, just as you would clean the warmer.
Store and Label Breast Milk After Each Session
To store breast milk properly, use clean, food-grade glass containers or BPA-free hard plastic bottles, or specifically designed breast milk storage bags. Avoid disposable bottle liners, as they are not suitable for long-term storage. Store milk in small batches, typically 2 to 4 ounces, to minimize waste and make it easier to thaw only what you need. Leave about an inch of headspace in each container or bag because milk expands when frozen. Place containers in the back of the refrigerator or freezer, where temperatures are more stable, rather than in the door. If refrigeration isn’t available, use an insulated cooler with ice packs to keep the milk cold. It’s important to get the milk cooled as soon as possible after expression to preserve nutrients and prevent bacterial growth.
Clean and Dry Pump Parts to Prevent Contamination
To prevent contamination, you need to clean and dry all pump parts thoroughly after every use. Begin by disassembling each milk-contact component to ensure complete sanitation. Rinse these parts immediately under cool water to remove milk residue before it dries and becomes harder to clean. Wash each piece in hot, soapy water within a dedicated basin, paying close attention to small crevices and valves that can trap residue. After washing, rinse each piece thoroughly to remove soap. Allow all parts to air-dry completely on a clean paper towel or drying rack; avoid using cloth towels, which can transfer germs. If your baby is under 3 months or premature, sanitize the parts daily. Keep your wash basin and bottle brush clean, and always wash your hands before handling the dried parts to prevent recontamination. For added safety, replace tubing and other parts according to your pump manufacturer’s recommendations to ensure optimal performance and hygiene. To further protect your baby, choose a changing pad cover that can be easily cleaned and sanitized to reduce exposure to germs.