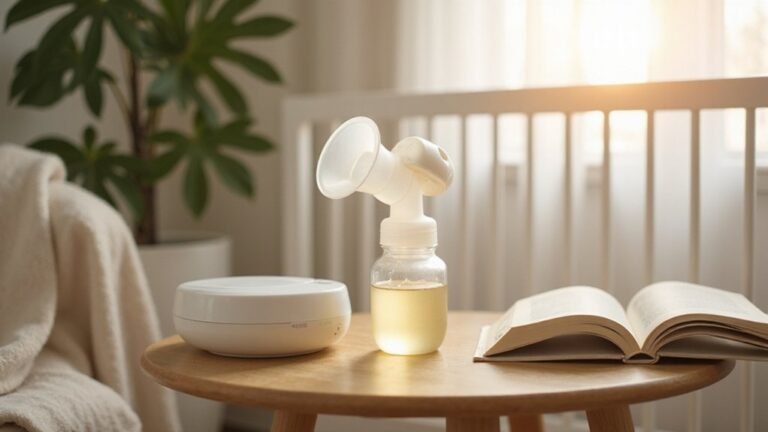
Using a manual breast pump might seem tricky at first, but with the right steps, you can make the process comfortable and effective. It’s all about proper technique and patience to ensure you get the milk you need while staying comfortable.
Once you master the basics, pumping can become a smooth part of your routine. Keep reading for a clear, step-by-step guide on how to use your manual breast pump confidently.
How a Manual Pump Helps You Express Milk Easily
A manual pump helps you express milk easily by giving you direct control over suction and speed. Because you use your hand to operate it, you can start with quick, gentle squeezes that mimic a baby’s sucking pattern, which helps trigger your milk let-down reflex. Once milk begins to flow, you can slow down and use deeper, steadier strokes for efficient extraction. Manual pumps are often overlooked, but they are powerful alternatives to electric models, offering the advantage of personalized control. This manual design features fewer parts for easy assembly and cleaning, enhancing its simplicity. For a secure fit during use, consider how car seat cover reviews emphasize the importance of compatibility and ease of adjustment. Pay attention to the release points on the pump to avoid damaging the flange or tubing during disassembly. Just as rear-facing car seats require extended use for optimal safety, manual pumps benefit from longer, patient sessions to achieve full milk flow.
To get started, begin with gentle breast massage to encourage let-down. Be patient if your milk initially appears as drops—full flow may take a few moments. Creating a relaxed environment, like a warm and quiet room, can enhance your reflex. If the flow slows down, you can reposition the flange or switch to the other breast. This method of pumping is simple to learn, quiet, and effective for occasional use, making it a practical option when you need quick, controlled expression.
What You Need Before You Start Manual Pumping
Before you start manual pumping, you’ll need to gather and prepare a few essentials to keep the process smooth and hygienic. First, clean and sterilize all pump accessories—such as the manual pump, bottle, valves, and funnel—according to the manufacturer’s instructions. Make sure everything is completely dry before assembling to prevent contamination. Wash your hands thoroughly with soap and water to reduce the risk of bacteria transfer. You don’t need to wash your breasts unless you’ve used a cream.
Next, gather a clean collection set and labeled containers for the milk. Place a towel nearby to catch drips, and have a drink and a snack ready for comfort. Set up your space in a quiet, warm, private area with a comfortable chair. When choosing that chair, look for support and stability features similar to those found in the top-rated high chairs to ensure safe, ergonomic feeding. Minimizing distractions helps you relax, which can make manual pumping easier and more effective. For a complete nursery setup, you might also consider top crib and dresser sets to keep all your pumping supplies organized nearby. The pump’s simple, one-piece structure eliminates the need for complex setup with tubing or digital screens, making assembly straightforward. When assembling the pump, check that the flange fits correctly so your nipple sits centered without pinching or irritation. If you experience discomfort, consider trying a different flange size to find the best fit. Following the same hygiene and relaxation principles you would for a Tommee Tippee bottle warmer ensures consistent care for your baby’s feeding routine.
How to Position Yourself and the Manual Pump for Comfort
To maximize comfort and efficiency while manual pumping, proper positioning and pump placement are essential. Sit in a sturdy chair with good back support and keep your feet flat on the ground. Relax your shoulders and use pillows or armrests to support your arms and elbows—avoid letting them hang or hunching forward. Choose a quiet, well-lit spot with a stable surface to place your supplies. Hold the manual pump at breast level, centering your nipple within the shield for optimal comfort. Support your breast gently with one hand, keeping your wrist relaxed, while operating the pump with your other hand. Avoid gripping tightly or hunching your shoulders, as this can cause strain. If you experience discomfort or pain, pause and adjust your position or the pump’s placement. Regularly checking your comfort level helps promote a good let-down reflex and reduces muscle tension during pumping sessions. Many parents find that treating the task with the same care as selecting a multi-drawer chest ensures a relaxed, organized mindset for the task. Choosing a firm, supportive surface, like a top-rated crib mattress, can also help you maintain a stable posture during pumping. For additional stability, consider using a chair that offers good back support to prevent slouching during long sessions.
The Right Way to Begin the Manual Pumping Cycle
To begin the manual pumping cycle correctly, start by ensuring you’re in a comfortable position. Wash your hands thoroughly and assemble the pump, checking that all parts are tight, dry, and free of cracks. Center your nipple in the flange so it moves freely without rubbing. Begin with short, quick squeezes of the handle—about one squeeze per second—to stimulate let-down reflex. Once milk starts flowing, switch to slower, rhythmic squeezing to express milk efficiently. Many parents wonder how long a manual pump’s parts remain effective, similar to asking how long does an infant car seat last. Proper maintenance is essential: check valves and membranes for signs of wear and replace any damaged parts immediately to prevent air leaks. Adjust the flange for a snug but comfortable seal to avoid rubbing or discomfort. Before pumping, gently massage your breasts to help release milk faster. Keep your back supported and breathe steadily throughout the session. If the flow stalls, return to quick squeezes briefly to trigger another let-down. When the process feels comfortable and the milk flows steadily, you’ve begun the pumping cycle correctly. This pump is designed for light to moderate use, so replace parts as needed to maintain performance. For some mothers, manual pumping offers greater portability and quiet operation compared to electric models, making it convenient for occasional use away from home. Just as parents must recognize the right transition signs for your child to stop using a booster seat, knowing when to replace pump parts ensures continued efficiency.
When and How to Switch Breasts While Manual Pumping
Switching breasts while manual pumping should be guided by your milk flow, not a strict schedule. When you notice your milk flow slowing from steady sprays or streams to only occasional drips, that’s your cue to switch sides. Don’t wait for hand fatigue; instead, pay attention to the rhythm of your pump. Once the flow on your first breast decreases significantly, switch to the other breast. After a few minutes, return to the original breast—you might trigger another letdown and release more milk. Alternating two or three times per session helps ensure both breasts are emptied effectively. It’s normal to have asymmetry in milk production; one breast may produce more than the other. Focus on how your breasts feel—look for softness and a reduced flow—as your main signs to switch sides. For those considering an upgrade, a wearable breast pump can offer hands-free convenience and comparable performance. Just as crib mattress dimensions ensure safe fit and comfort for your baby, staying flexible and responsive to your comfort and the available milk, rather than sticking strictly to a timed schedule, is key to effective pumping. Many parents similarly benefit from following car seat safety guidelines to protect their baby during travel, ensuring each journey is as secure as possible.
How Long Should Each Manual Pumping Session Last?
A manual pumping session should last about 15 to 30 minutes per breast. Since manual pumps are slower and rely more on your effort, your milk flow is the best indicator of when to stop. Pump until your milk slows down from streams to drops, then continue for about 2 to 3 minutes after the last drops to ensure fuller emptying. Your breasts should feel softer and lighter after the session. Be attentive to session warnings: if you experience pain, pinching, or bruising, stop immediately and check your pump’s fit or technique. The daily duration can vary depending on letdown timing, milk storage capacity, and how full your breasts are. Remember, longer pumping does not always mean more milk once your flow has slowed. If you need to warm the expressed milk later, use a bottle warmer or other safe methods to avoid nutrient loss. Aim for around 20 to 30 minutes per session, but always prioritize your comfort and output over strict timing.
How to Store Breast Milk Safely After Manual Pumping
To store your breast milk safely after manual pumping, transfer it into clean, food-grade glass containers, BPA-free hard plastic containers, or specialized breast milk storage bags. Avoid using disposable bottle liners to prevent contamination. Label each container with the date you expressed the milk to ensure proper rotation and use the oldest milk first. Store milk in small batches of 2 to 4 ounces to minimize waste and make thawing or warming easier.
Fresh milk can be kept at room temperature for up to 4 hours, placed in an insulated cooler for 24 hours, or refrigerated for up to 4 days. If you don’t plan to use the milk within this timeframe, freeze it for longer storage, leaving some space at the top of the container to allow for expansion during freezing. Store the milk toward the back of the fridge or freezer, avoiding the door where temperatures can fluctuate more. To thaw frozen milk, transfer it to the refrigerator overnight or run it under warm water. Always use refrigerated milk first when feeding from a bottle and avoid refreezing thawed milk. Maintaining hygiene in handling and storage helps keep the milk safe for your baby.
How to Clean and Maintain Your Manual Pump
To clean and maintain your manual pump properly, wash each piece in a dedicated basin using hot, soapy water. Use a clean brush reserved solely for infant feeding items to scrub all surfaces thoroughly. Avoid abrasive cleaners, as they can damage the pump’s materials. Rinse each part completely to remove any soap residue, then air-dry on a clean paper towel. Do not use cloth towels, which can harbor bacteria. For a thorough deep clean, you can also wash the cover in a machine on a gentle cycle if your pump includes a fabric carrying case. Always follow the manufacturer’s instructions for drying storage parts to prevent damage.
Tubing rarely needs washing, but if you notice moisture inside, run the pump for a few minutes to dry it out. For sanitization, boil the parts or place them on the top rack of the dishwasher if your infant is under 2 months old. Additionally, clean pump dials with disinfectant wipes to prevent buildup. Only reassemble all components once they are fully dry to prevent recontamination.