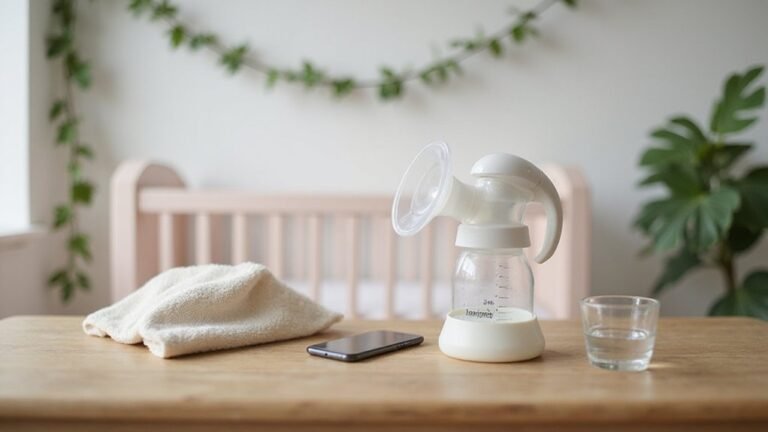
Using a manual breast pump like the Medela can feel tricky at first, but with the right steps, you’ll get comfortable in no time. Preparing your parts and mastering the two-phase rhythm are key to expressing milk efficiently and comfortably.
Once you find the right shield size, you’ll be ready to optimize your pumping sessions. Keep reading for all the details you need.
What’s in the Box and How to Prep Your Medela Harmony Before First Use
Before you pump for the first time, unpack your Medela Harmony and lay out all the components on a clean surface. Match each piece to the diagram in the manual to ensure you’re familiar with every part. You’ll find a 24 mm PersonalFit Flex breast shield, connector, handle, stem with O-ring, diaphragm, valve head, and two valve membranes. The set also includes a bottle, lid, and bottle stand. Check that all parts are intact, paying special attention to the valve membranes and diaphragm, since these are essential for proper function. Proper assembly supports your breastfeeding goals by maximizing comfort and milk output. Remember, you can purchase replacement shields in other sizes separately if needed. Being able to identify all components now guarantees you’re ready to express milk efficiently when the time comes. The process is similar in care to converting your car seat to a booster, as both require careful attention to each component. For a different pumping experience, explore how the Spectra S1 and S2 compare in safety, cost, and lifespan. When selecting equipment for your newborn, you might also look into bouncer seats that provide a safe and comfortable spot for your baby while you pump.
How to Clean and Sanitize Your Medela Harmony Parts Before Using
To clean and sanitize your Medela Harmony parts before using, start by rinsing all parts that touched milk or your breast with drinking-quality water to remove residue. Hand-wash disassembled parts in a clean basin using warm water and dish soap, then rinse thoroughly for at least 10–20 seconds. Alternatively, you can place the parts on the top rack of the dishwasher, facing downward, for a thorough cleaning. After washing, disinfect the parts by boiling them in water for at least 5 minutes or using a Medela-approved steam sterilizer or microwave sterilization bag. For those considering other brands, checking top electric breast pumps may help identify a more convenient alternative. Do not wash the tubing; instead, run the pump to dry it out completely. Because the tubing is not exposed to breast milk, you should remove and not clean it unless moisture is present, then replace it. Consult guidelines similar to booster seat safety to know when your child is ready for a change. Once cleaned and disinfected, air-dry all parts on a clean towel, ensuring they are fully dry before storing. Always keep cleaning and assembly processes separate to maintain hygiene. For a secure and lasting setup, ensuring your pump parts fit snugly is just as important as choosing a seat cover fit that matches your vehicle’s contours.
Step-by-Step Medela Harmony Assembly: Getting Parts in the Right Place
To assemble the valve membrane correctly, place it horizontally on the valve head with the knob pushed into the smallest hole until it lies flat. This ensures the valve functions properly by creating a secure seal. Next, insert the valve head sideways onto the connector’s inner sleeve, aligning it securely.
Tighten the assembly by screwing the milk bottle onto the connector, ensuring it is snug. This step completes the lower chamber and prevents leaks during pumping. Choosing the right flange size is essential for comfort and efficiency during use. For optimal performance, consider a top baby monitor to keep an eye on your baby while pumping. For organizing your pumping supplies, a chest with multiple drawers offers convenient storage.
Before attaching the handle, insert the stem with its O-ring into the upper side of the diaphragm, making sure the oval base is aligned properly. Push the diaphragm into the handle firmly so that the recess engages the handle’s tongue completely.
Finally, insert the handle assembly into the connector’s top opening and push until it clicks into place. Double-check all connections are tight and secure to prevent any leaks or malfunctions during use.
Master the Medela Harmony’s 2-Phase Rhythm for Let-Down and Flow
Once milk flow begins, you switch from the stimulation phase to the expression phase by matching the Medela Harmony’s 2-phase rhythm. Start with the short side of the handle, pressing and releasing quickly to trigger let-down. When you see milk flow or feel ejection, switch to the longer side, using slower, full-stroke movements. This synchronized rhythm closely mimics your baby’s natural suckling, helping to increase pumping efficiency. Consider the same principle behind booster seat weight limits, as both require careful attention to specified capacities for safe and effective use. You control the speed and strength by adjusting the handle’s compression to find your optimal rhythm. Once you have expressed milk, you can store it or feed it directly, and using a bottle warmer can help maintain the ideal serving temperature for your baby. Avoid pumping beyond when the milk stops flowing, as this wastes time and can tire your hand. To maintain consistent performance, replace worn valve membranes every two to three months to prevent loss of suction. Mastering this two-speed action enables you to express milk more quickly and comfortably, making each session more effective.
Position Your Medela Harmony Shield for Comfortable Pumping
To ensure a comfortable and effective fit, start by measuring your nipple at the base and adding four millimeters to find your ideal shield size. Correct shield sizing is essential; select a tunnel slightly larger than your nipple to prevent pinching and pain. Next, position the shield by rotating the oval shape 360 degrees to match your breast’s contour—no fixed direction is necessary. Center your nipple in the tunnel and hold the shield lightly with your thumb and finger. Avoid pushing it firmly against your breast, as this can restrict milk flow. Aim for a gentle seal rather than pressure. During pumping, check that your nipple moves freely and that you don’t experience discomfort. If the shield rubs or pulls on your areola, consider reassessing your size. Just as a rear-facing car seat protects a child’s vulnerable spine during sudden stops, correct shield positioning prevents injury and discomfort during pumping. Regular cleaning of all parts is crucial to prevent milk residue buildup, and you can follow similar care and drying advice to help your gear last longer. Proper positioning ensures a comfortable fit and maximizes pumping efficiency.