Figuring out how to use a bottle warmer can feel tricky at first, but it’s quite straightforward once you understand the steps. The key is getting the right amount of water for your bottle size.
It’s important to timing it just right for a warm, safe feed. With a little practice, you’ll master the process and ensure your baby’s milk is just right every time.
Here’s what you need to know to get started.
Set Up Your First Years Warmer on a Stable Surface
Place your First Years bottle warmer on a flat, stable surface before plugging it in. Choose a hard, level area like a counter or nightstand that won’t wobble or tilt. Avoid soft or sloped spots that could cause the unit to tip over. Keep it away from heat sources such as radiators or direct sunlight to prevent damage or overheating. Ensure the warmer sits securely without wobbling, and check that it doesn’t tip when gently pushed. While setting up, also consider the safe materials used in your baby’s crib sheets for a completely secure sleep environment. For a perfect fit in your car, you might also explore top-rated car seat cover reviews. For a nursery with ample storage, consider a chest of drawers with multiple drawers to keep baby essentials organized.
Position the warmer near an electrical outlet so the cord can reach comfortably without stretching or pulling tightly. Make sure you can easily access the warming chamber and basket without shifting the base. Confirm stability by giving the warmer a gentle shake—if it wobbles, find a more secure location. Always unplug the unit before adding water or loading bottles to prevent electrical hazards, and fill the water to the two-minute line based on the bottle size for consistent warming.
Leave enough clearance around the warmer to allow for safe steam and heat exposure. This spacing helps prevent accidental contact with hot surfaces and ensures proper ventilation. Once these steps are complete, you’re ready for the next stage of setup.
Measure the Right Water Amount for Your Bottle Size
To determine how much water to add, rely on the water measurement markings on the measuring vial rather than guesswork. Your bottle size and starting temperature influence which fill line to use. For a refrigerated formula in a 4 oz. slim bottle, fill to the 4-minute mark. An 8 oz. slim bottle requires filling to 2.5 minutes. If your bottles are at room temperature, they need less water: about 1 minute for a disposable 4 oz. bottle.
For breast milk, only refrigerated bottles are addressed. A wide-neck 9 oz. bottle should be filled to the 5-minute mark. Always fill the vial up to the recommended minute marking, then pour the measured water into the warming chamber. These markings are guidelines; if the bottle becomes too hot, add less water. If it’s too cool, add more. Always test the temperature before feeding to ensure comfort and safety. Rear-facing car seats are safer for young children because they better protect the head, neck, and spine during a crash.
Step-by-Step: Warm a Bottle in the First Years Warmer
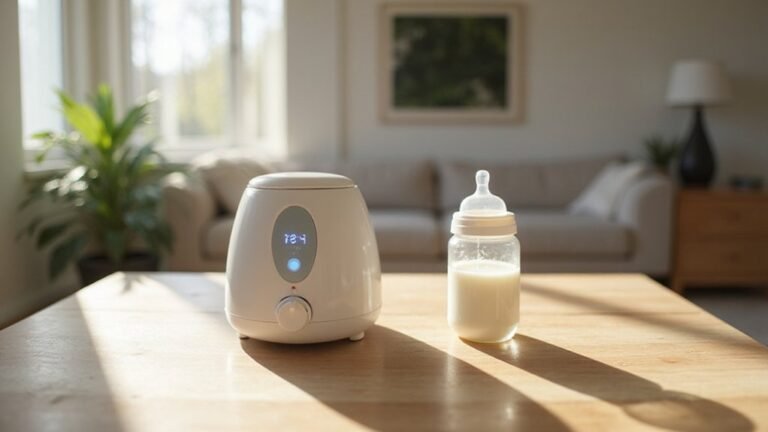
To warm a bottle in the First Years Warmer, start by placing the warmer on a flat, stable surface and plugging it in. Fill the measuring vial to the correct mark based on your bottle size, then pour that water into the warming chamber. Always ensure the unit is unplugged before pouring to follow safety precautions. Insert the basket, making sure not to place the bottle directly on the heating element. For slim-neck bottles, use the provided adapter ring. Remove any jar lids if warming food. The warmer can also warm breast milk for nighttime feeding when preparing the bottle accordingly. Position the bottle in the basket, replace the cap, and press start. Similar to finding the right fit for a bassinet sheet, ensuring proper measurements is key for safe operation. On digital models, select the desired starting temperature and volume for precise control. The warmer automatically heats the water and shuts off when done. When planning outings, remember that taking your newborn outside requires careful timing around feeding schedules. Wait for the indicator light to turn off before removing the bottle. Use tongs or the basket handle to lift it out carefully, keeping your hands away from the hot chamber. Allow the bottle to cool briefly before handling to avoid burns. For families deciding between nursery furniture, a mini crib offers a compact, portable alternative.
After Warming: Mix the Contents and Test on Your Wrist
After warming the bottle, swirl it gently to mix the contents and ensure even temperature distribution. This motion helps redistribute any separated fats or nutrients without creating foam or introducing air bubbles. Avoid shaking vigorously, as this can cause excess foam and potentially damage the bottle or create hot spots. For those also using a high chair, parents often compare Peg Perego high chair models for their quality and ease of cleaning. To save money on organizing feeding supplies, you can build DIY wooden drawer dividers on a budget.
Next, check the temperature by dripping a few drops on your wrist. The liquid should feel lukewarm and comfortably warm—not hot. Since the bottle surface might feel cooler than the liquid inside, always rely on the wrist test for an accurate reading. If the milk is too hot, let the bottle cool before feeding. Once the temperature feels safe, you are ready to give your baby their feed. Avoid reheating any leftover formula and follow proper handling guidelines instead. When cleaning up after feeding, remember that removing the Graco high chair cover requires checking its specific release points to avoid damaging the parts.
Troubleshoot: Why Is the Bottle Too Hot or Too Cool?
If your bottle is too hot or too cool, the most common cause is the water level you’re using. To achieve the proper temperature, adjust the water level based on your results. If the bottle turns out too cool, add a little more water next time—more water means longer heating. Conversely, if it’s too hot, use slightly less water to prevent overheating. The material of your bottle also influences how it heats. Glass bottles tend to heat faster, so you should select a lower heating setting for them. Silicone bottles warm more slowly, often needing additional time after the cycle to reach the desired temperature. Using a proper bassinet mattress fit ensures your baby’s sleep environment is safe and comfortable.
Your starting conditions also matter. Use fresh, room-temperature water for consistent results. If you’re warming milk straight from the fridge, expect a longer or different cycle compared to room-temperature milk. Keep in mind that the warmer setting operates as a timed cycle, not a precise thermostat. Some trial and error is normal, so make small adjustments to fine-tune the temperature. Always remove the bottle promptly once the cycle ends to avoid overweating or overheating. Be aware of the risks of overheating that can destroy nutrients and create hot spots.
For lasting performance, regular cleaning of the warmer’s heating chamber prevents mineral buildup that can alter heat transfer and cause uneven temperatures.
Use Special Modes for Baby Food Jars and Sanitizing
To warm baby food jars or sanitize pacifiers with the First Years bottle warmer, follow these specific steps. For jar mode, first place the basket into the chamber. Remove the jar’s lid and set the jar inside the basket—never place it directly on the heating element to avoid damage. Fill the water vial to the time marking indicated for the desired warming or sanitizing cycle. Adjust the water level up or down if the temperature results are too cool or too hot. The unit will automatically turn off when the indicator light goes out. Allow the jar to cool before handling, then stir and test the temperature to ensure safe feeding. For additional safety, ensure the 5 point harness is properly adjusted for a secure fit.
For sanitizing pacifiers, use the sanitizing function by filling the water vial to the three-minute mark. Place up to two pacifiers in the basket and then cover them with the sanitizer lid. Start the cycle to effectively sanitize. Once finished, remove the pacifiers and let them cool before use.
When using these alternative modes, keep a few simple cleaning tips in mind: never immerse the base of the unit in water, and promptly wipe up spills to prevent buildup on the heating element. Proper maintenance ensures your warmer functions safely and efficiently.
Get Consistent Results by Sticking to One Bottle Type
Sticking with one bottle type ensures consistent warming results. Different bottle shapes, materials, and sizes all heat differently, so using the same brand, shape, and material for each feeding minimizes variability. Wide, narrow, plastic, glass, and silicone bottles each have unique heating patterns. Switching between them requires guessing new warming times each time, which can lead to inconsistent temperatures. Always follow the manufacturer’s guidelines for safety and compatibility. Keep milk volume and starting temperature the same to reduce fluctuations. Tracking the specific warming time that works for your setup helps eliminate trial and error, leading to more reliable results. Remember that warmers often heat the outer layers more quickly, so stir the milk well after heating to ensure even temperature distribution. The device preserves nutrients by using steam heat to warm liquids accurately. Just as a booster seat weight limit ensures safety by preventing overloading, using the correct bottle type prevents overheating or uneven warming. By maintaining consistency in your bottle choice, you ensure your baby’s milk warms reliably, avoiding surprises and ensuring safety. For optimal hygiene, consider pairing your warmer with a dedicated sterilizer for breast pump parts to keep all feeding equipment clean.