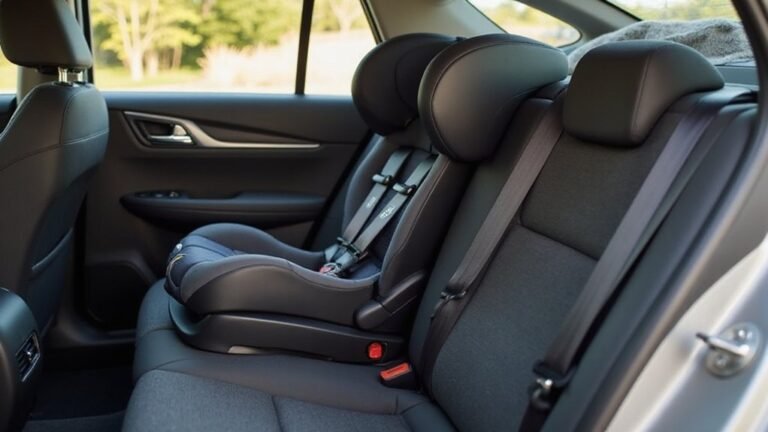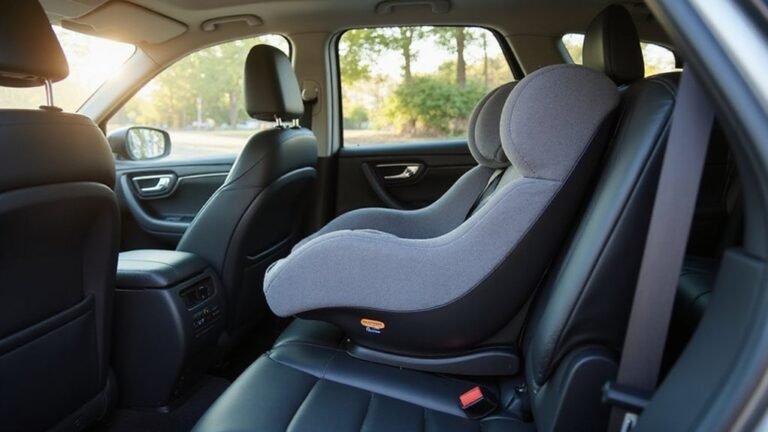


Installing your Nuna car seat without the base can feel tricky, but with the right steps, it’s straightforward. You’ll need to secure the seat properly using the vehicle’s seat belt, ensuring it’s tight and correctly positioned.
In this guide, you’ll learn how to choose the safest spot for your seat. You’ll also learn how to route the belts correctly.
Make sure to check for a secure, level installation. Keep reading to get all the details for a safe and reliable fit.
Which Nuna Models Support Baseless Installation?
Several Nuna car seats support baseless installation. Notably, the PIPA urbn has an integrated pipaFIX™ rigid latch that allows for a quick and secure install in about two seconds without a base. The PIPA RX, Aire, and Aire RX models also support baseless installation by using a European belt path, providing flexibility and convenience for on-the-go setups. However, the PIPA Lite family—comprising the Lite, Lite R, and Lite LX—requires a base and cannot be installed without one. Always consult your vehicle manual and follow the European belt routing to ensure a secure fit when installing baseless Nuna models. Before installing, ensure the child is buckled into the car seat correctly and the L-shaped belt is attached under the seat tab. Consulting expert timing guidance can help ensure the baby meets the proper age and weight signs for safe travel. For caregivers weighing portability, a wagon vs. stroller comparison offers insights on long-term usability versus dedicated car seat systems. When comparing overall travel systems, quality and performance ratings from independent reviews often highlight how baseless installs affect everyday convenience and safety.
Where Should You Put the Carrier for Baseless Installation?
For Nuna models that support baseless installation, you should place the carrier on a rear‑facing vehicle seat, facing the front of the vehicle. This placement is safest and most effective when positioning the carrier in the back seat, especially in taxis or during travel. Never install the carrier on a seat equipped with an active airbag, as this can be dangerous. Choosing a cover that provides a perfect fit ensures the carrier remains stable and comfortable for your child.
Ensure the vehicle is on level ground and in park before installing. Center the carrier on the seat cushion to prevent it from hanging over the edge, which could compromise stability. The seat belt must align with the lower blue guides near your child’s legs for a secure fit. Check that the handle stays in the carry position without touching the seat in front or surrounding surfaces, confirming compatibility with your vehicle interior. Take advantage of the retractor locking feature to help secure tightness during installation. Using the correct crib sheet size ensures a snug fit that prevents bunching under the carrier.
The shoulder belt may route behind the carrier or rest against the seatback, depending on the fit. After tightening, verify that the blue level indicator remains parallel to the ground. Final installation should move no more than 1 inch at the belt path to ensure proper security. Lightweight car seats for newborns are often easier to handle during baseless installation.
How to Use the European Belt Route for a Tighter Fit
To achieve a tighter, more secure fit without using the base, use the European belt route. This method involves routing the vehicle’s shoulder belt behind the carrier through the rear blue guide. First, position the carrier rear-facing with its level indicator parallel to the ground. Next, route the lap belt through the lower guides and buckle it. Then, take the shoulder belt behind the carrier and thread it through the rear blue guide. Pull slack from the belt system while pressing the carrier down into the seat crease. This technique maximizes belt tension and enhances carrier stability. If your vehicle seatbelt system allows, lock the seatbelt to prevent slack. Fully pull out the seat belt webbing to activate the locking feature. Check that there is less than one inch of movement at the belt path, ensuring a snug fit. Make sure the shoulder belt remains flat and untwisted for proper force distribution. Avoid routing the shoulder belt incorrectly, as this could compromise both safety and fit.
What If the European Method Won’t Work? Try American-Style Routing
If the European belt route isn’t effective because your vehicle’s seat belt is too short or the angle prevents a snug fit, switch to American-style routing. This approach involves threading only the lap portion through the blue belt guides and keeping the shoulder belt outside completely. First, thread the lap belt through the guides, buckle it, then pull out slack while pressing the carrier firmly into the seat crease. To minimize movement, lock the vehicle seatbelt retractor by pulling it out fully, then letting it retract after pressing the carrier into the seat. Always verify that the car seat is appropriate for your child’s age and weight before proceeding with any installation method. For added peace of mind, consider pairing your car seat with a high-quality crib set that meets rigorous safety standards for the nursery.
Focus on belt positioning during installation: ensure the shoulder belt remains untwisted and away from the path to maintain proper tension on the lap part. Lock the retractor by pulling it fully out, then push the carrier rearward and downward until you feel resistance. Confirm that the level line on the carrier stays parallel to the ground. Before using the seat, check that there is less than 1 inch of side-to-side and front-to-back movement at the belt path to ensure a secure fit. This method is safe only for children who meet the minimum booster seat requirements for weight and maturity, as harnessed seats are recommended for younger toddlers.
How to Ensure a Tight Baseless Installation That Stays Level
To achieve a tight and level baseless Nuna installation, start by parking your vehicle on a flat surface to ensure stability. Route the seat belt through the blue guides, making sure to avoid twists that can affect tension and angle. Activate the vehicle’s locking mode to prevent the belt from loosening during adjustment. Apply firm downward pressure on the carrier while pulling the shoulder belt snug to remove slack. During this process, your key adjustment technique is to push your weight into the carrier as you tighten the belt. Common installation mistakes like failing to lock the belt properly can lead to dangerous looseness. For those seeking the same level of security in other vehicles, top booster seats with five-point harnesses offer “safe comfort” through similar tensioning methods. If you no longer need the old crib mattress, check charities that accept used baby gear to ensure safe disposal.
After tightening, recheck the blue level line on the carrier to confirm it stays parallel to the ground. Belt tightening can shift the carrier’s angle, so verifying the level remains critical for safety. Avoid common mistakes like skipping this level check after tightening or testing movement only at the carrier’s top, which doesn’t accurately reflect the belt’s tension and stability. Grab the carrier firmly at the belt path and push and pull; it should not move more than one inch. Avoid active airbag areas to prevent serious injury during sudden stops.
Ensuring a stable, level installation requires locking the belt, removing all slack, and double-checking the angle and level line before using the carrier. This comprehensive approach helps maintain the install’s integrity over time and prevents shifting that could compromise safety.
What to Do If the Installation Feels Loose or Unlevel
If your Nuna car seat installation feels loose or appears unlevel, start by checking the built-in level indicator rather than relying solely on how it looks. This indicator shows the true angle of the seat and confirms proper installation. Ensure the vehicle is on level ground because sloped pavement can trick the indicator and give a false reading. If the seat rocks more than one inch at the belt path, there is slack that needs addressing. Re-route the seat belt or anchor strap, making sure there are no twisted webbing and you’re pulling the correct strap to tighten. For seat adjustment, examine the support leg; it should display green and not push the base upward. Using a belt routing instead of anchors may be preferable when stability concerns arise from shallow or protruding lower anchor components. Do not confuse vehicle seat contour with installation issues. If wobbling persists after these steps, try a different seating position in your vehicle. Remember that rear-facing seats are safer because they protect the head, neck, and spine in a crash. Consult your Nuna manual and your vehicle’s guide for additional troubleshooting tips.