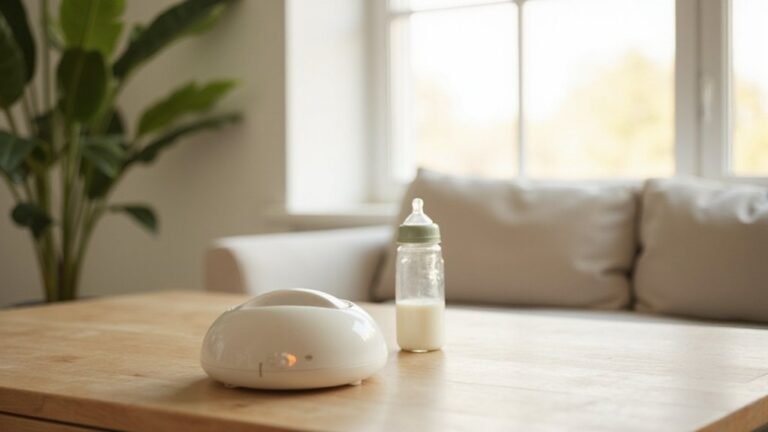
If you’re wondering how to warm your baby’s milk safely and efficiently, the Momcozy bottle warmer might be just what you need.
It offers quick heating options and easy adjustments to match your milk’s temperature and your baby’s needs.
By the end of this guide, you’ll know exactly how to use it to get your bottle just right—safe, warm, and ready to feed.
Box Contents and Quick Setup
Your Momcozy bottle warmer box includes the unit itself, a USB charging cable (for portable models), and a user manual. Depending on the bundle, you may also find a cleaning brush, connector, milk powder container, and adapters for brands like Philips Avent or Dr. Brown’s. First, check all parts against the manual to ensure everything is included. The device uses intelligent heating technology to automatically adjust temperature for retaining nutrients and aiding digestion. For a perfect fit with your bottle, ensure the included adapters match your specific bottle dimensions. Always follow manufacturer safety guidelines to avoid overheating the milk, and note that breast milk safe warming requires avoiding direct boiling or microwave use as noted in safety research.
To prepare for use, clean the warming chamber, lid, and base with a damp cloth. Always dry these components thoroughly before use to prevent residue buildup. This step helps maintain hygiene and ensures proper functioning.
For maintenance, regularly wipe down the unit and avoid using harsh chemicals that could damage internal parts. When cleaning, disconnect the device from the power source and ensure all components are completely dry before reassembling.
If the unit does not heat properly, verify the USB cable connection is secure and that your power source is functioning correctly. Ensure you are matching your bottle type—glass, plastic, or silicone—to the included adapters and do not exceed capacity limits: 11 ounces for standard models or 6 ounces for portable ones. Familiarize yourself with these limits to prevent overloading. Reading the manual fully before first use helps prevent mistakes and ensures you set up the warmer correctly.
Choose the Right Adapter for Your Momcozy Warmer
The adapter you need depends on the bottle’s brand and neck diameter. Start by using the five included options: Philips Avent/Chicco, Tommee Tippee, Comotomo/Boon, Dr. Brown’s Narrow (40 mm), and Dr. Brown’s Wide-Neck (50 mm). Match the adapter to your bottle’s neck size for a proper fit. Keep in mind that some glass bottles may have different compatibility rules compared to plastic ones, so check these exceptions separately. For optimal nighttime feeding convenience, a bedside bassinet can keep your baby close while you prepare bottles.
If you have NUK bottles, you’ll need the NUK Adapter N, which is sold separately. Before purchasing any accessories, confirm your warmer’s model number (MW03) to ensure compatibility. Also, verify whether the product listing states that the adapter is included or sold separately. Avoid assuming any adapter is universal; if your bottle isn’t supported, you might need to transfer its contents into a different, compatible bottle. For portable use, consider a warmer with a compact travel design that fits easily into a diaper bag while still accommodating your chosen adapter.
Water Amounts for Fast Warm, Thaw, and Steam Modes
Since water volume determines the effectiveness of each heating mode, you need to adjust it based on what you’re warming. The water measurement varies significantly between modes. For Fast Warm, pour 40 ml of water. This amount works for both room-temperature and refrigerated bottles, ensuring the bottle heats evenly without overdoing it. For Thaw, don’t use a fixed amount—instead, fill water until it reaches the level of the frozen milk. This helps achieve even defrosting without excess moisture. For Steam mode, check your specific model’s guide, as the recommended water volume isn’t always specified. Too much water can slow down the heating process, while too little may not generate enough steam for proper heating. Always match the water level to the intended function for optimal results. Just as rear-facing car seats provide better protection by distributing crash forces evenly, matching water to the right volume in your bottle warmer ensures safe and efficient heating. When selecting a warmer, consider its longevity and safety similar to how a twin mattress offers extended use compared to a crib mattress.
Warm Fresh, Cold, or Frozen Milk in Your Momcozy Warmer
You can warm milk in the Momcozy Warmer regardless of whether it’s fresh, cold, or frozen. The warmer adjusts its timing based on the milk’s initial temperature and volume. For fresh milk, expect a quick 2 to 5 minutes to reach the target temperature, as the smart heating system calibrates itself according to the bottle’s size and material. Cold milk typically takes around 5 minutes to warm up to 98°F, though this can vary between 2 and 7 minutes depending on how chilled the milk is at the start.
Reheating milk directly from frozen is simple—just select the THAW function. This setting automatically thaws the milk, then warms it to the desired temperature, and keeps it safe for up to 24 hours. Make sure your bottle—be it glass, plastic, or silicone—is compatible, as heating times can differ. Always check the milk temperature before feeding to prevent overheating. The warmer aims to reach body temperature and features an automatic shutoff to ensure safety and prevent over-heating.
Use Your Momcozy Warmer on the Go Without a Plug
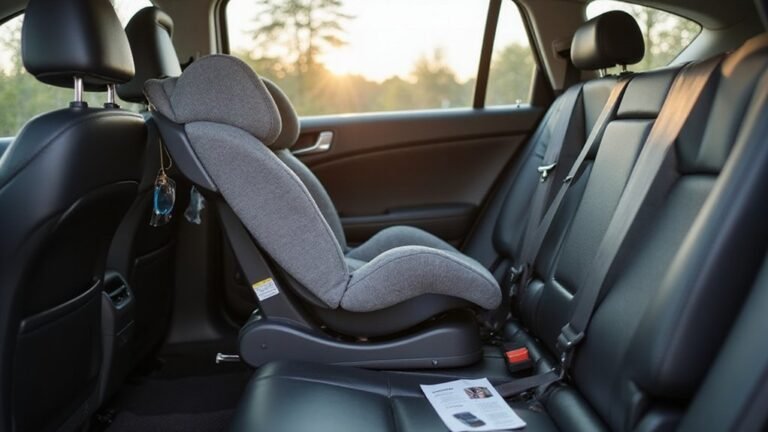
You can warm milk using the Momcozy warmer on the go without needing a plug, thanks to its rechargeable battery and USB-C charging. It fully charges in just 1.5 hours, allowing you to be ready for parks, airports, or car rides. Once charged, it heats 4 ounces of milk to 98°F in approximately 2 minutes, making it quick and convenient. With a single charge, you can warm up to eight 4-ounce bottles, ideal for busy travel days. For safety, avoid using the warmer while it is charging. To maintain the battery’s longevity, keep it partially charged when storing and avoid letting it fully discharge. Be cautious not to overheat the milk, as prolonged heating can reduce nutrients. It’s best to use warmed milk within two hours and never re-refrigerate any that’s left over. The cordless design allows you to set up anywhere instantly, with no outlet needed. For proper stability during use in a car, consider following Cosco rear-facing installation safety guidelines to prevent spills while warming bottles on the move. Before traveling, always check the tray for a secure fit to ensure your bottle warmer stays stable and does not tip over. Once your baby outgrows the warmer, remember that many charities accept gently used baby gear, including infant car seats for donation.
How to Test Milk Temp and Feed Your Baby Safely
Testing the milk temperature before every feed is essential for your baby’s safety. Milk that feels hot on your wrist is too hot for your infant. Aim for lukewarm, approximately 98.6°F, which is close to body temperature. Even with a warmer like your Momcozy, uneven heating can cause hot spots that might burn your baby’s mouth. Gently swirl the bottle first to distribute the heat, then test a few drops on the inside of your wrist. If it feels uncomfortable for you, it’s too hot for your baby. For accurate temperature control, use a food thermometer and ensure the milk does not exceed 104°F, as higher temperatures can damage vital nutrients. Avoid microwaving entirely because it heats unevenly and can create dangerous hot spots. Once the milk passes the wrist or thermometer test and reaches a safe temperature, feed immediately. If it’s too warm, let it cool and test again before offering it to your baby. Even room-temperature formula is acceptable if your baby accepts it, but always conduct a final temperature check right before feeding. For on-the-go feeding, you might also consider a lightweight car seat for newborns to safely transport your baby. A bouncer seat can also be a helpful spot to keep your baby secure while you prepare the bottle. For families traveling with twins, a double stroller for travel can make bottle preparation and feeding much easier while keeping both infants secure.
Clean and Store Your Momcozy Warmer After Each Use
After each use, ensure your Momcozy warmer is unplugged and completely cooled before cleaning. Empty any leftover water from the reservoir to prevent mold and bacteria growth. Wipe the inside and outside surfaces with a damp cloth—avoid soaking or immersing the device. If your model has removable parts, rinse them with warm, soapy water and gently scrub away any stuck residue with a soft brush. Be sure to rinse all parts thoroughly to remove soap traces. Keep the charging port and control panel entirely dry, and never submerge the warmer in water to prevent damage. Additionally, just as you would perform safety checks before using a car seat, you should verify the warmer is fully dry and clean before each use to prevent contamination. This is similar to ensuring stroller stability when using a double infant stroller with car seat, as both routines protect against safety hazards. Likewise, using a clean warmer is as important as selecting the correct crib mattress dimensions for a safe sleep environment.
Allow all components to air-dry fully before reassembling. Skipping this step can lead to mold formation and contamination. Incorporate this routine after each use to minimize milk residue and bacteria buildup. When storing, keep the fully dry warmer in a well-ventilated area, away from direct sunlight and heat sources. For long-term storage, place the unit in its original box or a safe, breathable bag. Additionally, remember to descale the warmer every four weeks using Momcozy’s recommended method to maintain optimal performance.