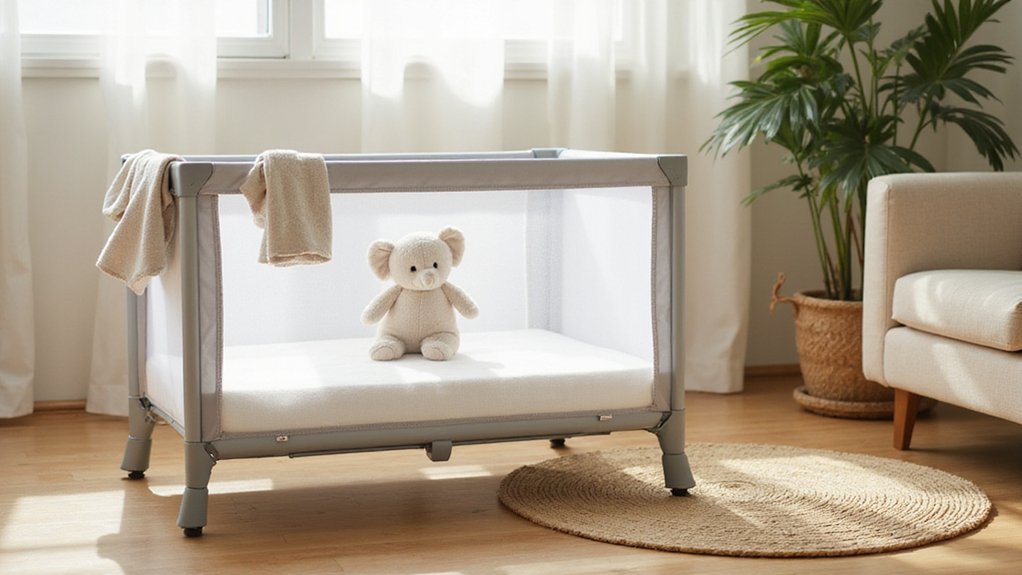
If you’re wondering how to set up your Pack N Play safely, you’re in the right place. Proper installation ensures your baby’s comfort and security, whether you’re assembling it for the first time or checking for safety.
In this guide, you’ll learn step-by-step how to unfold and secure your pack and play while verifying all safety standards.
Keep reading to make sure it’s set up correctly and safely before your little one uses it.
Before You Start: Check Your Pack ’n Play for Recalls and Gather All Parts
Before starting assembly, you must check your Pack ’n Play for recalls and gather all parts. Verify whether your model is affected by any recalls by searching the CPSC database with the exact model number, such as 2034085. For example, Graco recalled about 51,000 inclined sleeper accessories on a specific date due to suffocation risks. It’s crucial to confirm whether the recall pertains only to accessories like inclined sleepers or includes the entire playard. Match your model number precisely to avoid using recalled parts. If your model is affected, stop using the recalled accessory immediately and discard it. Just as a pumping bra requires proper adjustment of straps for comfort and security, your Pack ’n Play assembly benefits from careful positioning of all components.
Once you’re cleared, unpack all components carefully: the frame, mattress, rails, and connectors. Inspect each part thoroughly for cracks, bent sections, or tears. Check that all pieces match the parts list or instruction sheet before beginning assembly. Missing documentation or parts could mean your set is incomplete; do not proceed until everything is accounted for. Proper preparation ensures safe and smooth assembly. For a safer sleep surface, always choose a crib mattress that meets current safety standards for firmness and fit. For organizing your gear after setup, consider a chest with multiple drawers for your space.
Unfold the Pack ’n Play and Lock the Top Rails Without Getting Pinched
To unfold your Pack ’n Play and lock the top rails safely, start by lifting the center hub halfway up. Do not push it all the way down yet, as this step prepares the structure for proper rail locking. Next, lock the longer side rails first by pulling each straight up until you hear a click. Keep your fingers clear of the hinge zones to prevent getting pinched. Once the long side rails are secure, proceed to lock the shorter side rails the same way while the center hub remains raised. If a rail resists, lift the center hub higher to release tension and make locking easier. Do not force any parts, as this can cause instability or pinched fingers. Parents should note that maintaining a rear-facing position in car seats significantly reduces injury risk, just as a firm mattress prevent suffocation hazards in sleep spaces. Using a firm Graco crib mattress ensures a snug fit for safety and comfort. Push down on the middle of the playard floor until it locks securely before placing the mattress. When all four rails feel rigid and firmly locked, the setup is complete and safe for use. For parents who also use a stroller, Graco offers car seat compatibility with many of their travel systems for seamless transitions.
Drop the Center Floor and Confirm It’s Flat and Stable
Dropping the center floor and confirming it’s flat and stable is straightforward. First, ensure the rails are locked rigid. Then, lift one end of the unit slightly and push the center hub down firmly until you hear or feel it click into place. A proper click confirms the center is locked and stable. Do not try to force the floor flat before the rails latch, as this is a common mistake that can compromise safety. During this step, check that the center hub is at least halfway up before proceeding to ensure proper alignment. Many users find that car seat cover reviews offer insight into ensuring padded surfaces do not interfere with the playard’s stability. For an even safer setup, ensure all fabric is tucked into the frame grooves to mimic the safe and sturdy design principles used in crib rail covers.
Next, check the floor’s levelness both visually and by pressing across the surface. It should sit evenly without tilting or wobbling and should stay locked in place when you gently rock the frame. If the floor pops back up, lift the center higher, re-latch the rails, and try again. If it still resists, placing a few books under the center overnight can help. Never use the playard until the floor is flat and rigid; a stable base is essential to protect your baby and prevent the mattress from shifting during sleep. Always ensure the mattress fits snugly against the sides to reduce the risk of suffocation or entrapment.
Secure the Mattress Pad So It Stays Flat and Won’t Shift
To secure the mattress pad so it stays flat and won’t shift, start by confirming the playard floor is flat and rigid. Verify the mattress pad size matches your model’s specifications, then place it soft side up. Attach all hook-and-loop tabs through the slotted holes, ensuring they are firmly in place. Pull the four corner snap straps through the bottom, wrapping each around the playard tube. Adjust the tension on each strap evenly to distribute force and prevent bunching or slack. Tuck all four corners of the pad under the stiffeners to keep it centered and securely in position. Before placing the sheet, confirm the sheet size by laying it on top of the mattress pad to ensure it lines up from end to end. Finally, smooth out the sheet and perform a flatness check by pinching the pad—there should be no substantial material you can easily grasp or lift. Properly securing the mattress pad in this way helps prevent shifting during use, ensuring safety and comfort for your little one. It is also essential to select a crib sheet designed for the exact mattress dimensions to avoid loose fabric hazards. When choosing gear for multiple children, consider that double strollers and wagons offer different safety and lifespan benefits for active families.
Final Safety Check: Inspect Latches, Mesh, and Weight Limits Before Placing Your Child Inside
Before placing your child inside, perform a thorough safety check. Start with latch inspection: ensure all four side rails click securely into place. Push firmly on each rail to confirm none collapse or shift unexpectedly. Check the center hub and all hinges for looseness, misalignment, or signs of wear, as these can compromise stability.
Next, examine mesh integrity. Make sure all panels are intact, taut, and free of tears, holes, or fraying. The weave should be less than ¼ inch—any larger or damaged mesh indicates the unit needs replacing for safety. Additionally, remember that bassinet sheets are not universal, so always use only the fitted sheet designed for your specific model to avoid a loose fit that could pose a suffocation risk.
Review the manufacturer’s weight and height limits, which usually range from 25 to 35 pounds and around 35 inches in height. If your child can climb out, stop using the unit even if they haven’t reached the weight limit.
Finally, verify the frame sits on a flat, stable surface, and confirm there are no recalls for the model. Don’t place your child inside until all these safety checks are complete and pass inspection.